Creating a Datasource
Why should I create a Datasource?
To extract data through an endpoint, it is necessary to create a Datasource in the CSP Tech Jira Connector plugin. Below is the step-by-step guide on how to create a Datasource.
Initial screen Datasource
The first step to create a Datasource is by clicking on the button. Create Datasource.

Next step screen Connector
In this step, it is essential that you fill in the fields with valid data as they will be crucial for authenticating with our API through the User and password created in this data source. With all the data correctly entered, click the: Next button
Very important: It is of utmost importance that you enter your user token correctly. In case you don't know how to create the token, the step-by-step guide is available in this link create the token.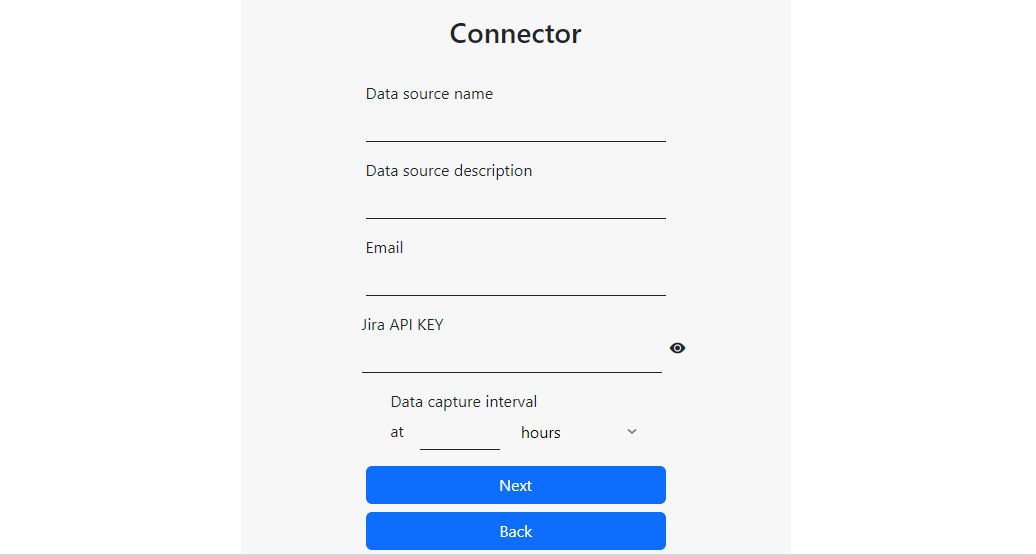
Next step screen projects
To complete this step, it is necessary for you to navigate through the three tabs and select the data you want to bring into your Datasource. When everything is ready, press the "Next" button at the bottom of the tab.

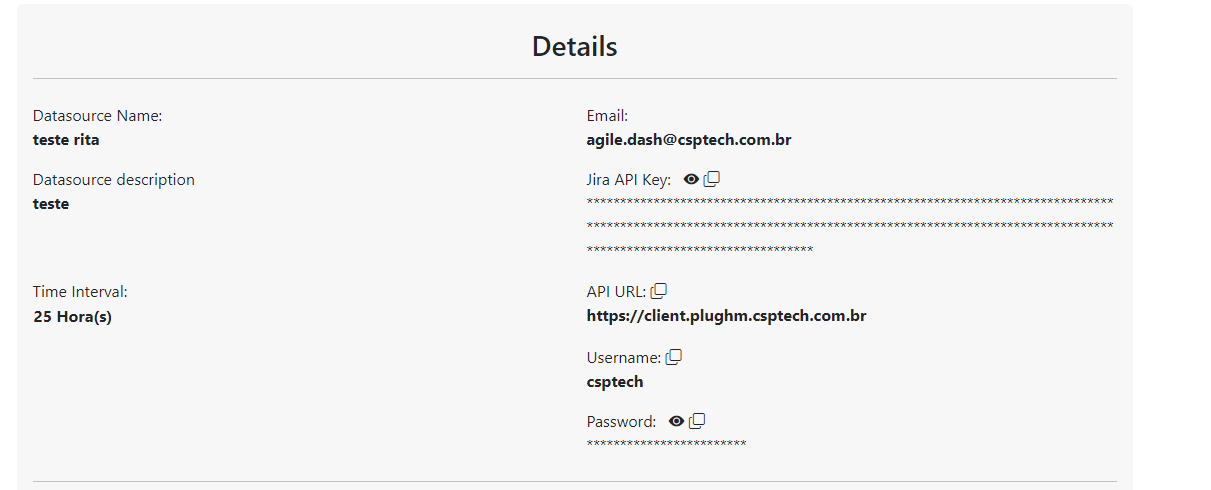
Next step screen Details
On the details screen, you have access to all the information such as: Password, UserName, API URL, Email, interval, Datasource Name, Projects, Fields, and Description .